A lot of people in the small web space have a tendency to get intimidated by the idea of making their website accessible. This, of course, results in many websites being inaccessible for many people. But when you’re just one person, meeting the Web Content Accessibility Guidelines (WCAG) is a monumental task. Just looking at their table of contents is enough to make some people give up – especially those who have limited time or energy to devote to their website. Besides, how would you even go about implementing these recommendations in your code?
Well, let me tell you a little secret. You don’t have to meet every last requirement. You don’t have to be perfect.
I mean, think about it. Let’s poke fun at my website for a moment. At this current moment in time, it is littered with spelling errors, has some very “duct-taped” together code, and inconsistent designs for my character. And it’s not an issue, because it’s a small website that I made on my own (with some code snippets from others, which are credited). If nothing else has to be perfect about my website, then why does it have to follow the WCAG perfectly?
And here’s a second secret. The WCAG was made with big teams in mind. Companies and government sites. Not you, hunched over at your desk, trying to do everything yourself. As far as I’m aware, there are no real “standards” for a small website to meet in regards to accessibility. All that matters is that you try, like genuinely try, because that willingness to try is so important in keeping this space welcoming for everyone.
Unfortunately, trying requires knowing how to code these accessibility options and many HTML/CSS tutorials don’t teach people how to do that. And that’s a shame, because there’s several steps you can take towards making your site more accessible that are incredibly easy.
I am not an expert. Far FAR from it. I am a hobbyist, who knows very little about computers and focuses almost exclusively on web weaving. You will find many issues with my site’s code should you look at it. I mention all of this not only as a disclaimer, but to emphasize how simple this really can be. You don’t have to be good at coding to do this. At all. Trust me.
Now, these are just basic steps. You can go further – again, the WCAG does outline what makes a perfectly accessible website. But we don’t have to do that. Additionally, I'm going to focus on what you can do to your code to help with accessibility, just to keep the scope of this limited. There's many design rules you can also learn which would benefit greatly in this effort!
Semantic HTML Elements
When learning HTML, there's a good chance that you were taught how to use the <div> element in order to organize and style your website. However, let me ask you something: what is a <div> element?
Because it can become anything via the power of CSS, it isn't really any one thing. Thus, screen readers and other technology cannot "read" the element itself – only the content within it. Information that may be obvious to a sighted user simply looking at your website may not be available to someone who relies on a screen reader. You need a way to tell them what is what on your site. Semantic HTML elements do exactly that.
For example, instead of having a <div class="nav"> element somewhere on your site for your navigation menu, you can simply have a <nav> element. Screen readers will be able to see that it's a navigation menu and tell that to the user. Plus, it gives you cleaner code. You can still target it with CSS as well! But instead of needing to write .nav - adding a period at the start to declare it as a class - you can just write nav.
I also want to bring particular attention to the elements <article> and <section>. The <article> element is used for any standalone parts of a page, such as a blog post, while the <section> element is used for sections with a shared theme and heading. Knowing when to use which can take time, but the important thing to know here is that using either of them properly will usually allow for a browser’s reader mode to work on your site (though each browser is different, so I can’t make promises). While you shouldn’t rely on reader mode to make your website accessible for you, as it overrides your CSS and limits intractability, it is an incredibly helpful tool for those who like to use it. So, whenever possible, try and make your pages reader mode friendly!
A full list of all semantic elements is beyond the scope of this article, so I would suggest W3 School’s lesson on the topic to learn more!
A Note on Headings
Headings are semantic elements. This means that screen readers read out loud when a heading is an <h1> or an <h4> element. Thus, it is important that you use them properly! Never use headings just to make text look big – you can use a CSS class for that – and always put headings in order. Don't skip <h2> just because you thought <h3> would look nicer. Again, you can use CSS to fiddle with that.
Image Alternative Text
Whenever you add an image to your site, you can give it some alternative text that a screen reader can read out loud. This “alt text” will also be displayed in place of the image should something happen that prevents it from loading, such as a slow internet connection or a server error. If no alt text is provided, then the file name is read out loud. The alt text for an image is added with the following code:
<img src="cat.png" alt="a black cat napping in the sun">
What makes for good alternative text depends a lot on context. Lets take the following image of my cat for example (which, for those using a screen reader, will go undescribed as it will be described shortly after):

If this were just for a blog post, you would probably want text such as “a black cat wrapped in a gray blanket”. If the fact the plushies in the background are important somehow, then you can mention them. Otherwise, because the cat in the blanket is the focal point, you’d focus on just her. If this was an introduction to how wonderful Fish the cat is, then maybe you’d spend more time describing how her eyes are yellow and that she’s a short hair cat specifically. Or, if this was more about photography, you could go into detail about shot composition and color value. Whatever the case may be, keep it to what matters, and try to keep it brief. If needed, you can go into more detail about the photo either in a description directly afterwords or in the blog post.
Describing art, however, is an entirely different beast. Describing characters or comics is especially challenging. This is something I’m still unsure of how to do myself. If you’re posting to your own gallery, where you can give each piece a description, then the same rules as above apply. Otherwise, just do your best – again, you don’t need to be perfect.
Now, say your image is purely decorative. A sighted visitor can glance over it quickly, but if it were to be read out by a screen reader it could take a bit. In this case, you’d want to instead code your alt text to be empty, like the following:
<img src="decor.png" alt="">
This will make the screen reader skip right over it, saving everyone time.
Skip to Content Link
This one is very easy! Making links that take you to different parts of the same page is one of the first things many HTML tutorials teach you. One thing that you can do in order to make life easier for those who use screen readers is to have the very first thing on your web page be a link taking you straight to the main content. Thus, returning visitors can skip past the navigation menus and side bars as they browse your site.
In order to do this, you’ll want to give the first element that covers the main content of your page some sort of ID that reflects that. So you could have something like <main id="content"> or <article id="skip">. Really, whatever works for you. Then, as the first actual piece of content on your page, you’d have a link such as <a href="#content">skip to content</a>. Or again, whatever phrasing works best for your needs.
On a larger scale, your web page may look something like the following (skipping the head content and going straight into the body):
<body>
    <div class="topbar"><a href="#content">Skip to Content</a></div>
    <nav>
        <p>Insert Nav stuff here.</p>
    </nav>
    <aside>
        <p>Maybe there's buttons here, or a status updater, or some other side thing that isn't super important.</p>
    </aside>
    <main id="content">
        <p>Insert words here</p>
    </main>
</body>
Yes, it's very simple - overly so - but I hope it gets the point across. There are ways to use CSS so the skip to content link is invisible, so if that is desired you can look into doing that. However, I personally suggest having it visible! This makes it available to mobile users, who can also use it to skip straight to the content. How useful that is depends on your layout, of course, but it is something to consider.
Responsive Layouts
Responsive layouts are layouts that work on any screen size. Doesn’t matter if the person is on a phone or a computer, the elements will shift and wrap in order to fit on the screen. This is important: most people have phones. Having both a phone and a computer is a luxury to many and a phone is the more practical purchase in most circumstances. Additionally, a phone is more physically accessible to people with certain physical disabilities.
Now, let me tell you yet another secret. Raw HTML, with very few exceptions, is decently responsive as is. When people have websites that are not responsive, it’s usually because they added CSS after the fact that broke said responsiveness.
Of course, every website design is different. Each one often requires different solutions to make them responsive. So, while responsiveness is the default, your current code may make this more difficult than the scope of this article can help with.
That being said, here are three things you can do that will at least help all designs in becoming more responsive.
Viewport
Add the following line of code to your head. This will automatically adjust the scaling of your page to match the width of the device’s screen.
<meta name="viewport" content="width=device-width, initial-scale=1.0">
Images
You can use CSS to style your images to set a max-width, allowing them to take up the full width of the screen until the point they hit their actual size. This allows them to scale down if needed, but they won’t scale up. I also set the height to “auto”, which basically tells the computer to automatically adjust the height based on the width so the image isn’t stretched or squished.
img {
    max-width: 100%;
    height: auto;
}
Alternatively, you can use width instead of max-width, which will let the image scale up. However, this runs the risk of the image becoming blurry or too big. You can also make this a class instead of applying it to every image, that way you can decide if you want to do something a little different with a particular kind of image.
Media Queries
These are a little more complicated, but I'll explain them as quickly as possible. In short, you can set up your CSS to change what code it uses based on the size of a user's screen (or other traits of their browser, but this is the main one we’re focusing on for now). This is how you can fix more specific issues – and thus, how to use it exactly I leave up to you.
But here’s an example for you. In this example, <section> elements have a transformation applied to them that cause them to be tilted slightly. You can see the effect in the following screenshot.
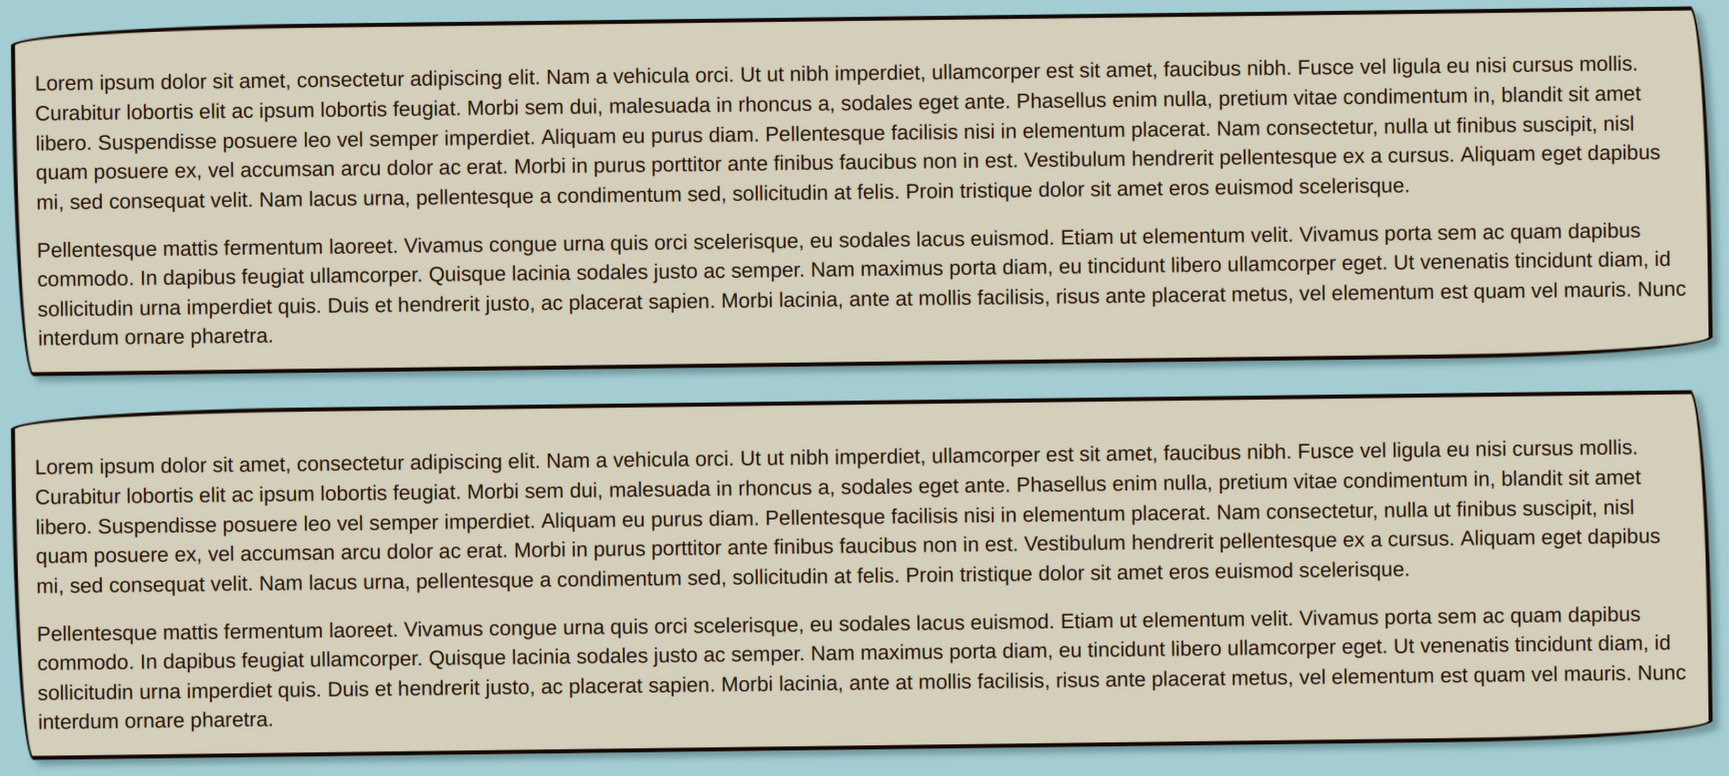
Now, this looks cool on desktop, but on mobile it’s much harder to read. So, we add a media query that undoes this tilt on small screens. All together, the code will look like this:
section {
    transform: rotate(-0.002turn);
    padding: 10px 20px 1px;
}

@media screen and (max-width: 950px) {
    section {
        transform: rotate(0turn);
    }
}
The class/element is repeated inside of the query. Only the changes you want to make need to be present in the media query - here, the <section> has some padding we want to keep the same, so it's not mentioned in the query at all.
As for the max-width: 950px - I keep reading conflicting information on what the best size is for deciding when small is small enough. In my experience, I've found that 950px works, but I do encourage you to research and experiment on your own to see if something else works better for you.
Light/Dark Modes
Dark mode is often times easier on the eyes for many people, especially in dark rooms. Conversely, some people find it easier to read text in light mode, especially in bright rooms. Thankfully, you don’t have to choose which design your site uses! You can have both, and it’s very easy. For it, we’ll once again be using media queries.
We’ll also be using a CSS pseudo-class called :root. Don’t worry if you’re unsure what a pseudo-class is. All that matters is that :root will make coding your site so much easier. What :root does is allow you to declare global variables for you to use later on much easier. So, if you use a particular color a lot in your site, instead of typing out the HEX/RGB code every time, you can instead assign it a name in :root and use that name within a variable function. Here’s an example, as seeing it is much easier to understand:
:root {
    --background: #ffe6ff;
    --box: #f7acfa;
    --txt: #1d0029;
}

body {
    background-color: var(--background);
}

article {
    background-color: var(--box);
    color: var(--txt);
}
Like I said, it makes life so much easier. But now, this is where we can implement a dark or light mode. Because the body and article selectors are looking for colors called "box" and "txt", we can use a media query to change what those names mean. In this case, because the default is a light mode, we use a query to change the colors around when the visitor has their browser preference set to dark mode:
:root {
    --background: #ffe6ff;
    --box: #f7acfa;
    --txt: #1d0029;
}

@media (prefers-color-scheme: dark) {
    :root {
        --background: #aa6caa;
        --box: #7c3c7c;
        --txt: #ffecdb;
    }
}
If you want dark mode to be the default and light mode to be the alternative, then it's as simple as making the media query @media (prefers-color-scheme: light)
Conclusion
Again, these are all basic coding-level steps that you can take to making your site more accessible. There's many more complicated things you could code in if desired and some design rules I didn't get to go over. Still, I hope that this has shown how adding accessibility features to your site isn't nearly as difficult as many believe it to be.
To end this off, I'd like to give you a short list of resources you can look at for further reading. Some go over things I didn't get to, while others are just useful tools. I hope they also help you in your efforts to make your website better and better!
- Web Accessibility Evaluation Tools - put in your site's URL and it'll tell you what you've done right in regards to accessibility for that page and what could be improved. Very handy for catching things you may have missed!
- Access Guide - has more accessibility tutorials, including ones on more complicated topics I didn't cover here. They also have a checklist of things for you to have considered in your design.
- Visual Design Rules You can Safely Follow Every Time - as I mentioned, design is just as important as code. While this guide doesn't focus on accessibility, it is a good introduction to web design and does include topics vital to having an accessible website.
- Color Contrast Checker - one of these design rules regards color contrast. This tool lets you check the contrast between your foreground (most likely text) and background colors.
- Color Safe - and if you just can't find a text color that works with your background color, this is a tool that can help you find one.
Grubdog (he/him) is a hobbyist webweaver, writer, and artist. He's been working on his website since 2023, mainly as a sort of creative project. You can find him at your-local-grubdog.neocities.org.
Member comments